Due to repeated mounting and dismounting or careless handling, you may notice that the threads of the important fastening seat are nearly or completely nipped. If the part can be replaced, it is quick and easy to replace the part, but in many cases, it is not easy to replace the part. In such cases, thread repair becomes indispensable, and we recommend “permanent thread regeneration” using recoil.
- The well-established recoil is used here
- Careful work proceeds from the preliminary hole machining.
- Securely set with special recoil insertion jig
The well-established recoil is used here
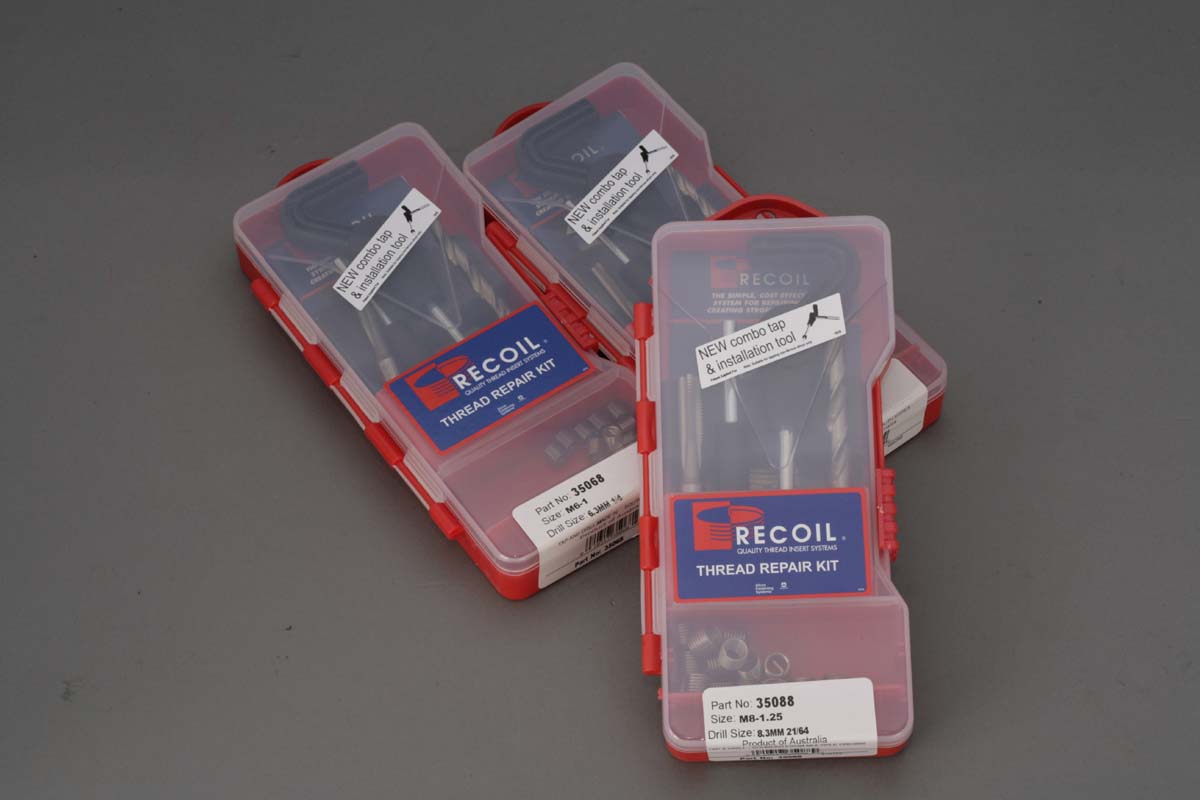
Recoil is a screw thread rebuilding and repair tool that was born in Australia and has become popular in the Japanese car and motorcycle scene. The main reason for the success of this product is that it is a single package of the minimum necessary tools for thread repair. While similar products have been sold and used widely in Japan since before the 1960s, each device is sold individually, whereas Recoil is a single package that is easy to purchase. As long as the screw size is correct, the repair work can be started immediately.
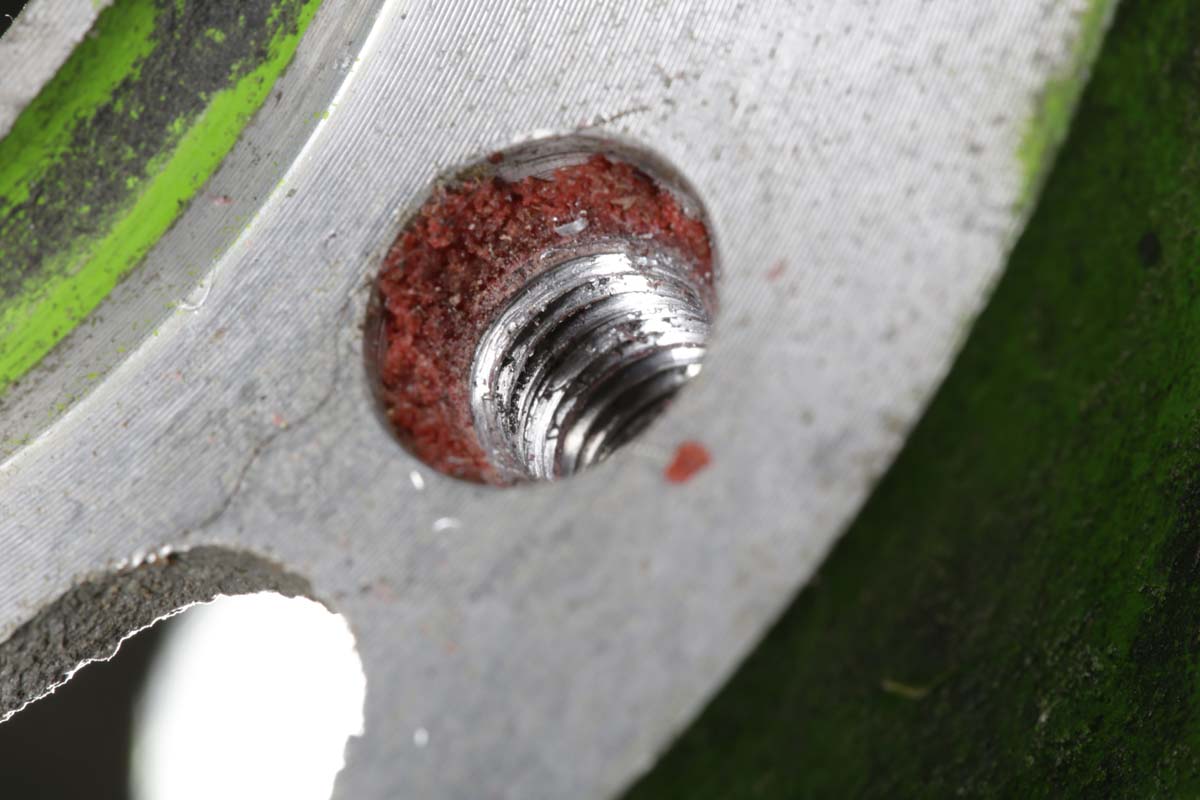
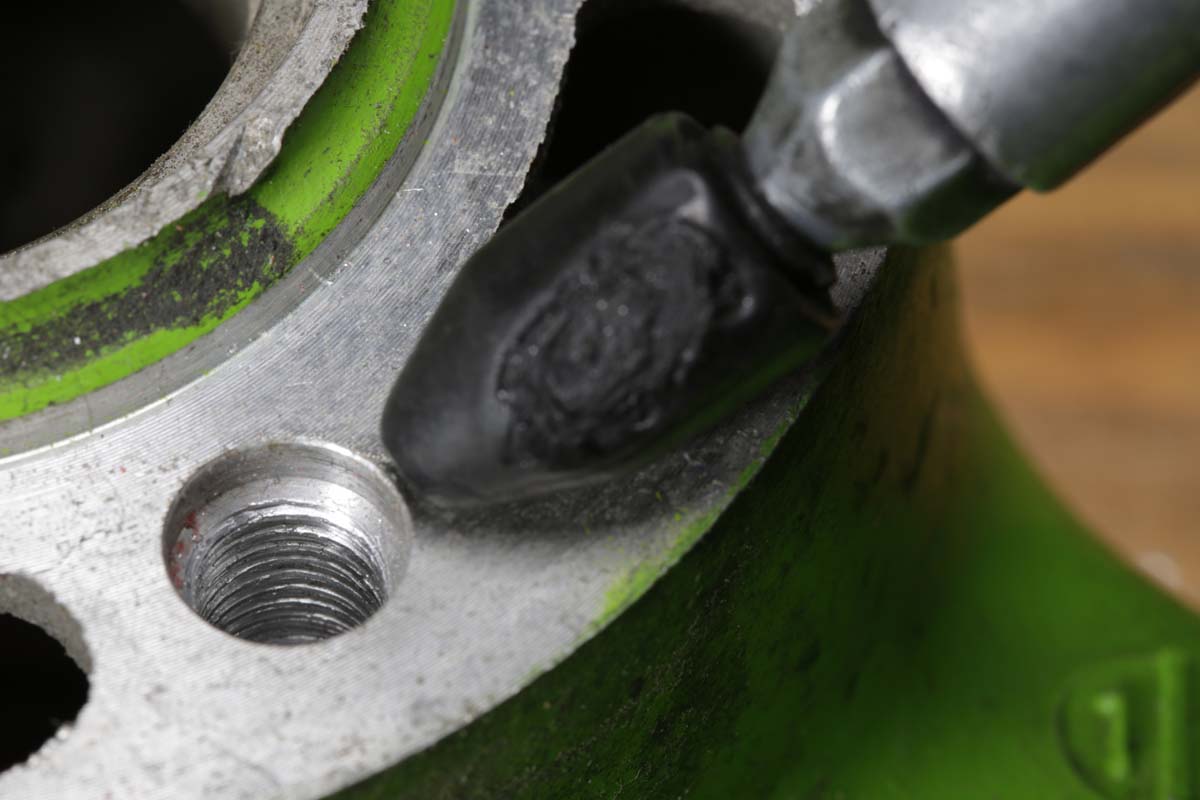
Here, I noticed that the threads of the disc rotor mounting bolts were almost napped (I could not tighten them with firm torque).
Careful work proceeds from the preliminary hole machining.
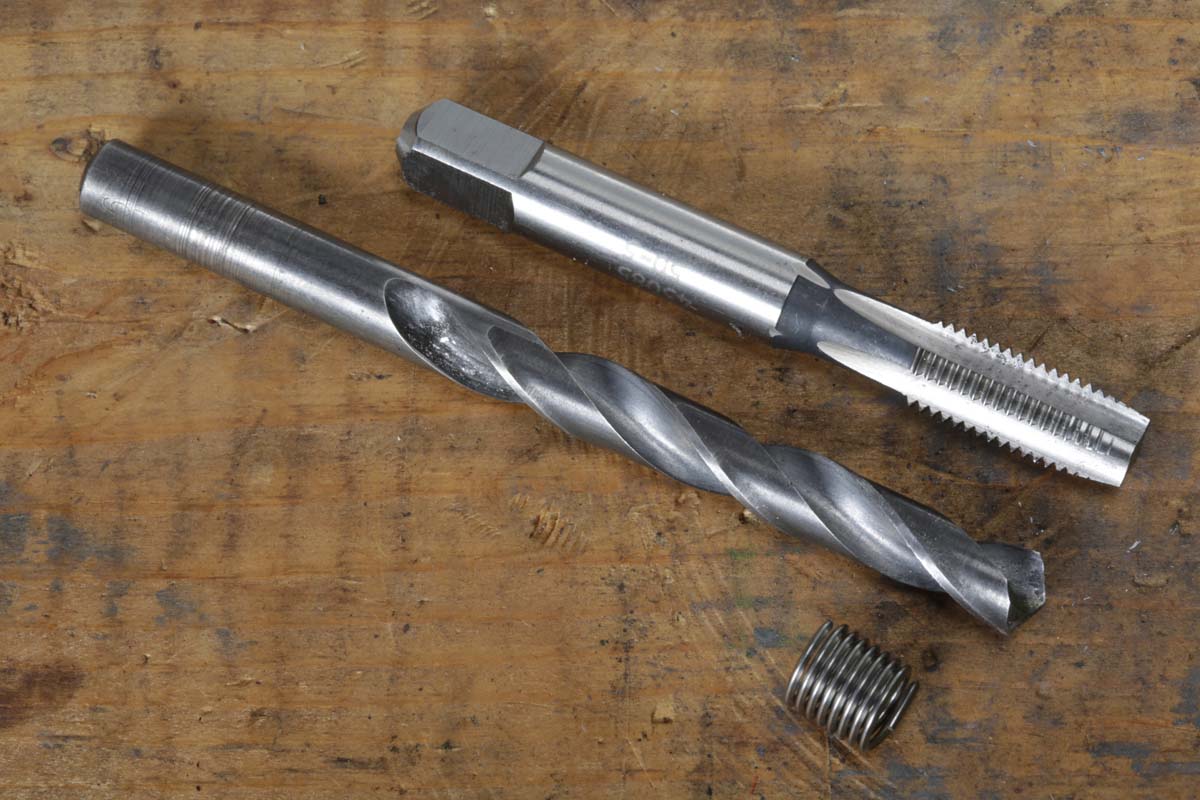
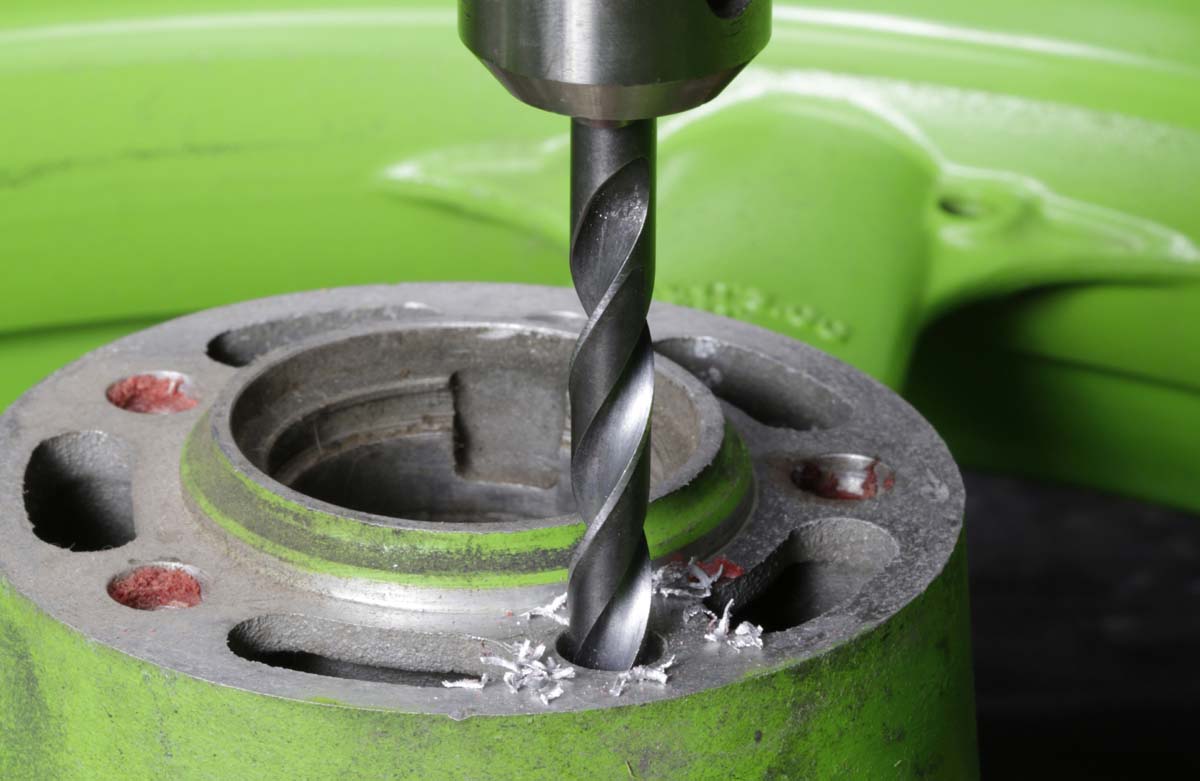
To regenerate damaged threads, a larger thread is made, and the recoil is inserted into it to permanently repair and regenerate the thread so that it can be tightened with a bolt of the original dimensions. First, utilize the included drill bit that matches the size of the recoil tap to enlarge the old threaded hole that has been nipped off. In many cases, a hand drill is used to do this, but the hole must be drilled securely so that the hole to be re-drilled is not at an angle.
Experience plays an important role in this process. If you are a beginner, it is recommended that you check the left and right sides of the drill and have a third party check the front and rear sides of the drill as you proceed with the drilling process.
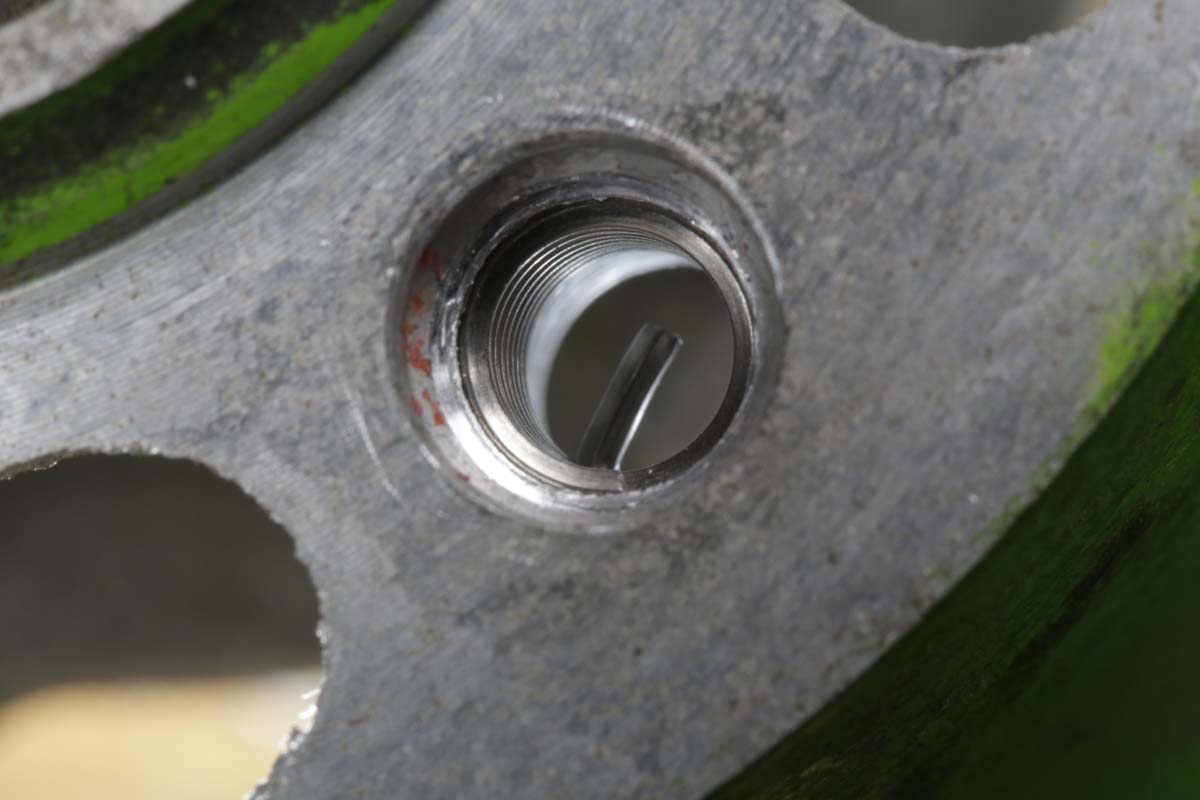
In this way, the hole will not be slanted. When setting a recoil tap, apply lubricating oil, grease, or tapping paste to the affected area, and use the included tap handle to perform the tapping process while having a colleague check the collapse of the tap as in the drilling process. Make new threads by repeatedly turning and returning the handle, rather than turning it all at once.
Once the threads are made, wash off any dirt with parts cleaner and complete the hole with an air blow.
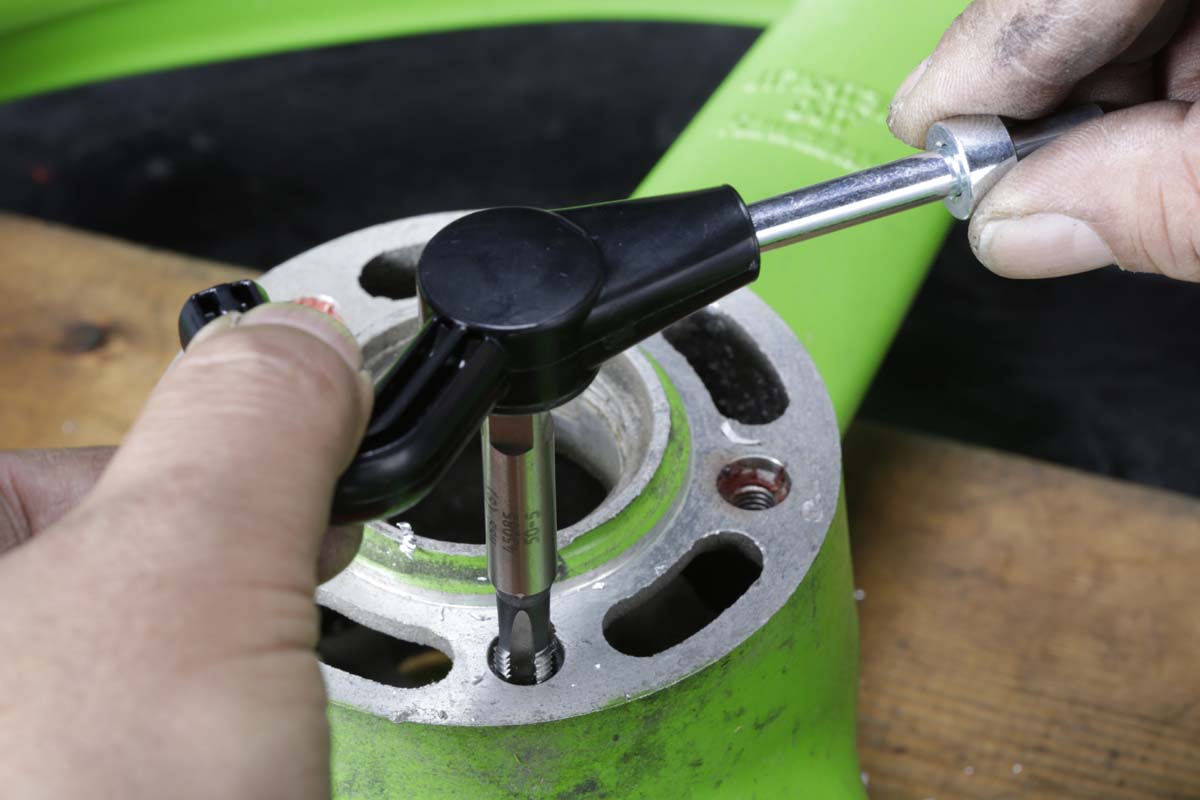
Securely set with special recoil insertion jig
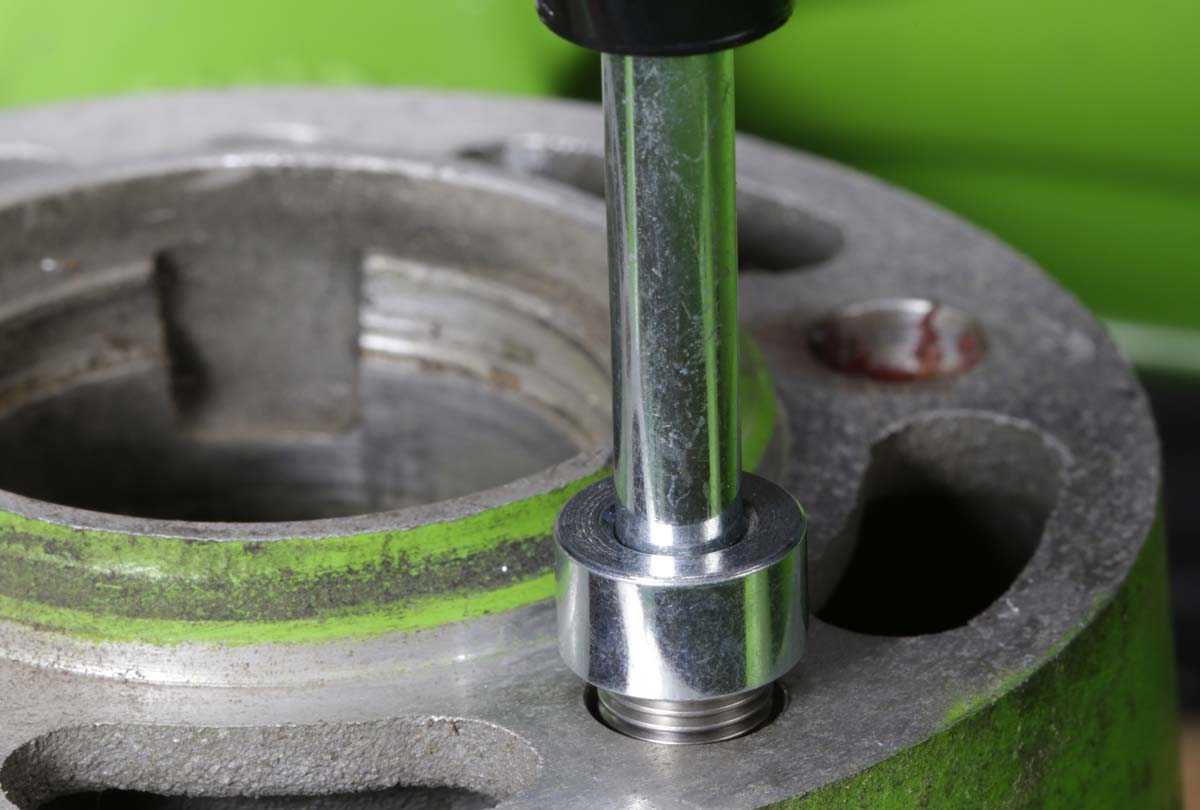
A special handle for inserting the recoil is included in the package. Set the recoil in place and insert the recoil perpendicular to the lower hole. Do not press too hard, but pull out the handle when the recoil begins to smoothly enter the hole and check that the recoil is smoothly assembled into the threads. In this case, the standard 1.5D size (1.5 times the depth of the screw diameter) was perfect, but if the recoil is too long or you want a perfect fit, check the dimensions before insertion and cut the recoil with nippers to make it easier to work with.