This time, I would like to talk about the regeneration of the water-cooling system, which I believe is the reason why my CBR1000F (SC21) became immobilized.
Since the SC24, the successor to the SC21, the water-cooling pipes have been changed significantly, and many water-cooling-related parts for the SC21 are rare and hard to find, so I had a harder time than I imagined. It is essential to restore not only the appearance but also the functionality of the system, so we will report on the work after assembly this time.
- Original Condition
- Cleaning
- Coating
- Assembling → Turbulence
- Mechanical seal failure found.
- Leaks will continue, everywhere.
- Completed for now.
-
Summary
- Tools and equipment used
- Replaced parts
Original Condition
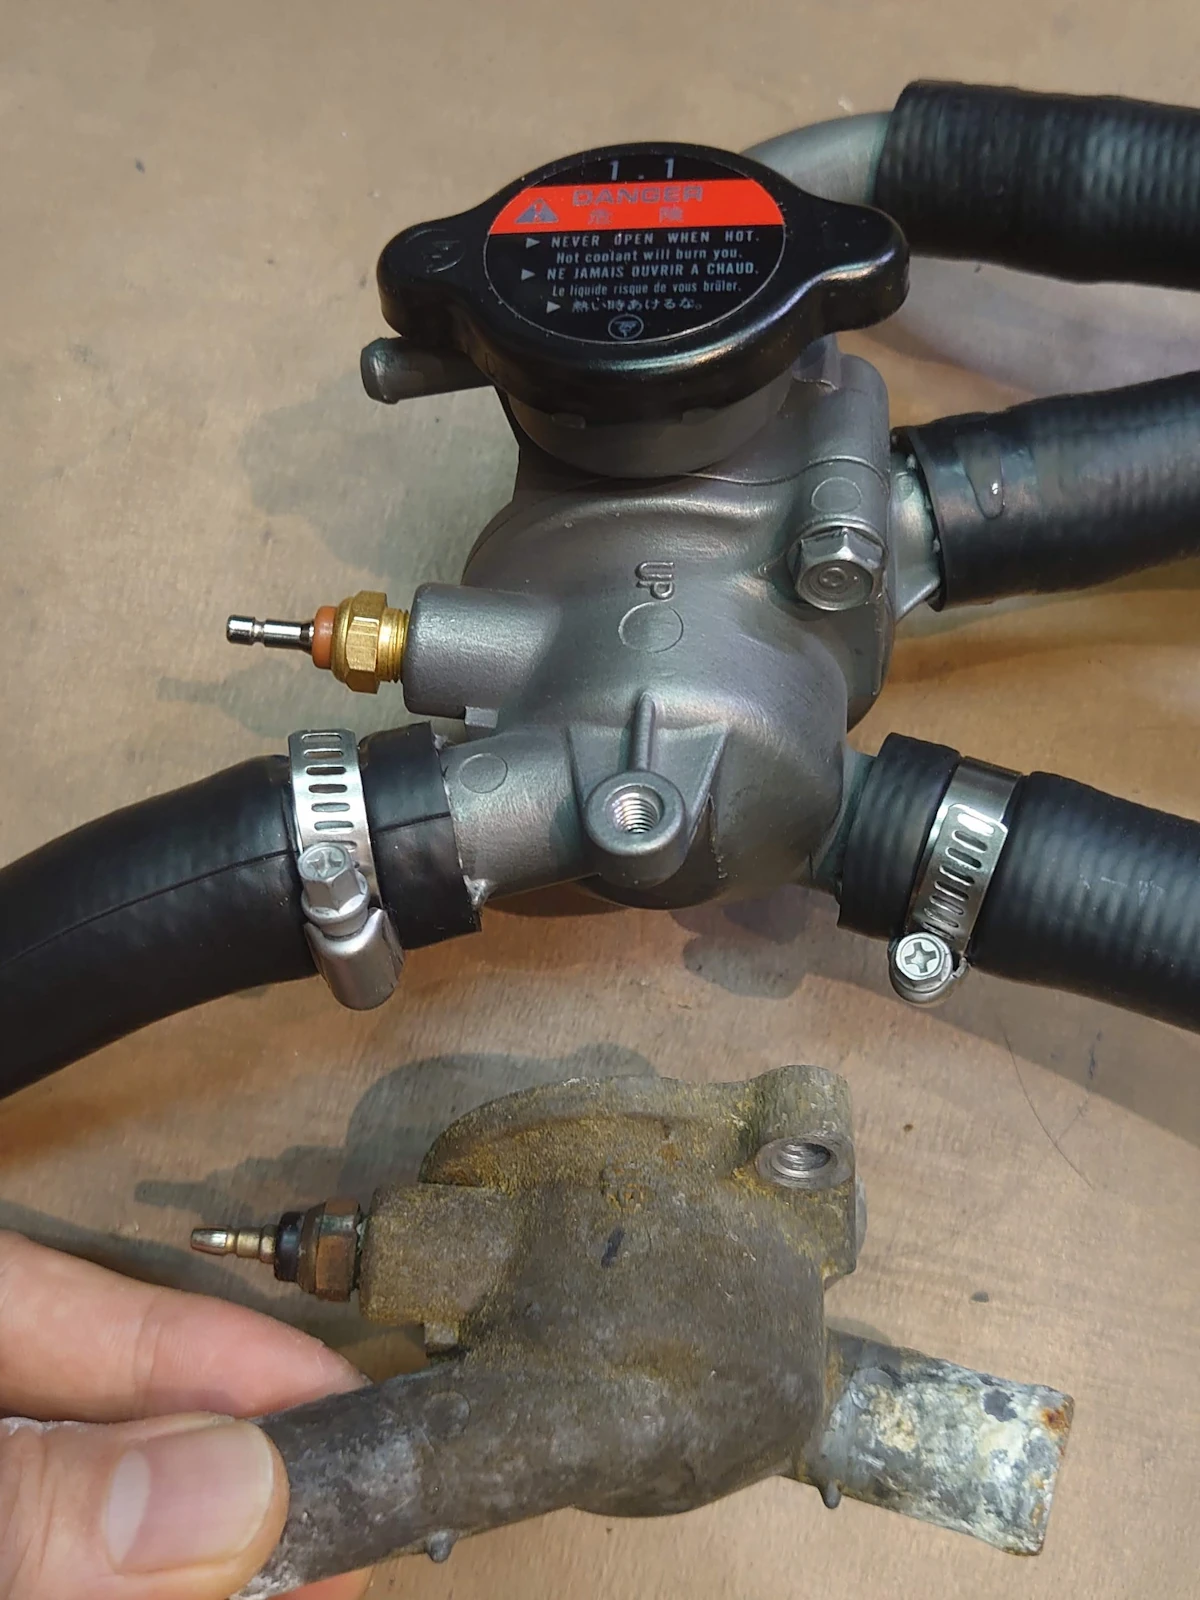
When I first removed the cowl and tank, I was surprised to see how decaying the water cooling system was. Brown clay-like dirt was clogging up everywhere and some of the pipes were ripped.
Since the condition could not be determined by the dirt, we first performed a high-pressure cleaning and then disassembled the car to check the parts. The metal pipes around the radiator cap had rusted and cracked. The stay connecting the radiator to the engine had rusted and the bolts were sticking, so we had no choice but to cut it off. Fortunately, the radiator itself and the fan, etc. were in good condition.
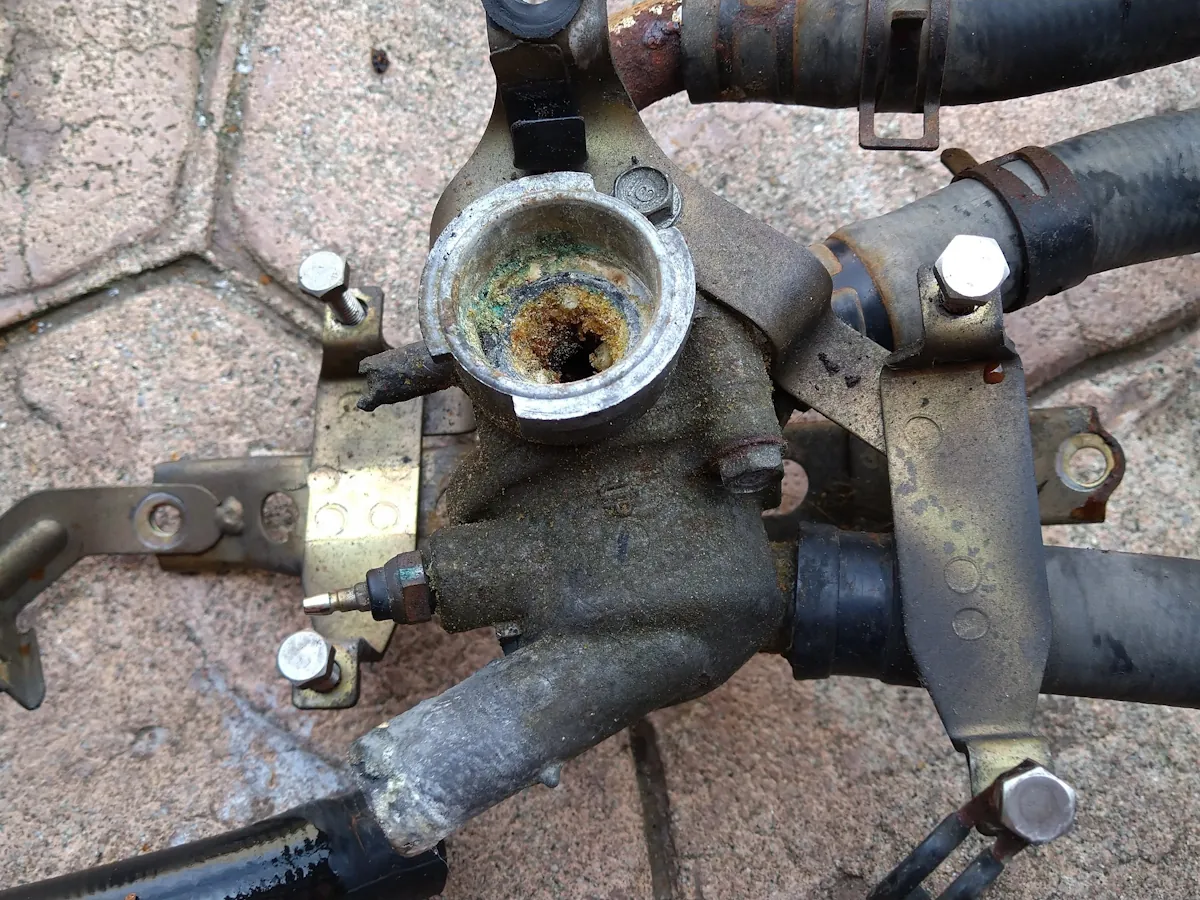
Around the ruptured radiator cap
Cleaning
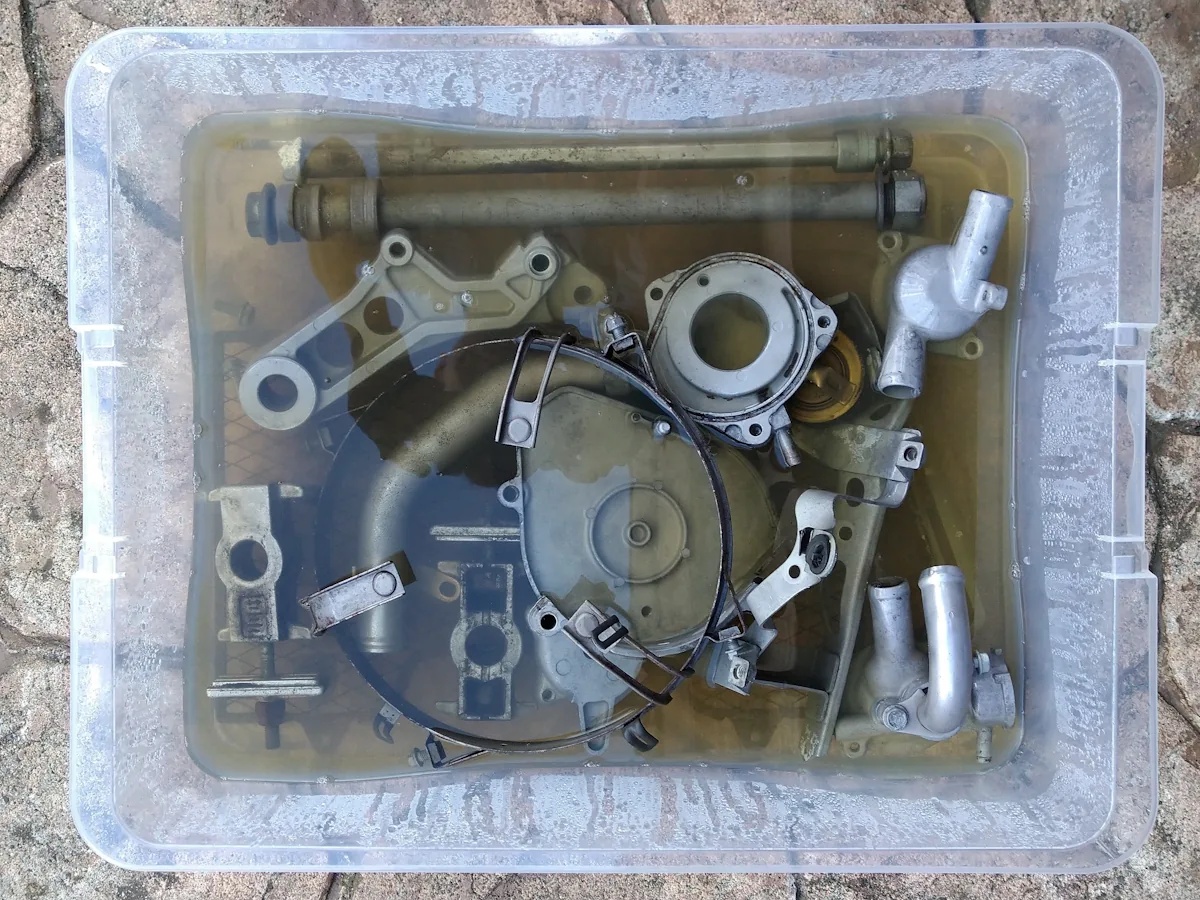
The parts around the radiator cap could be obtained and used through domestic auctions.
Nevertheless, they were quite dirty and had noticeable aluminum rust, so we soaked them in Metal Clean α heated to over 60°C together with the radiator and other parts, and then soda blasted them to refresh the parts.
Incidentally, since Metal Clean α softens the paint, we decided to remove the paint from the radiator and other parts.
Metal clean cleaning is in progress
In addition, the water pump section is not soaked in metal clean but only in soda blast because seals and other parts are incorporated, and the rubber pipes are soaked in OxyClean for about half a day to clean them.
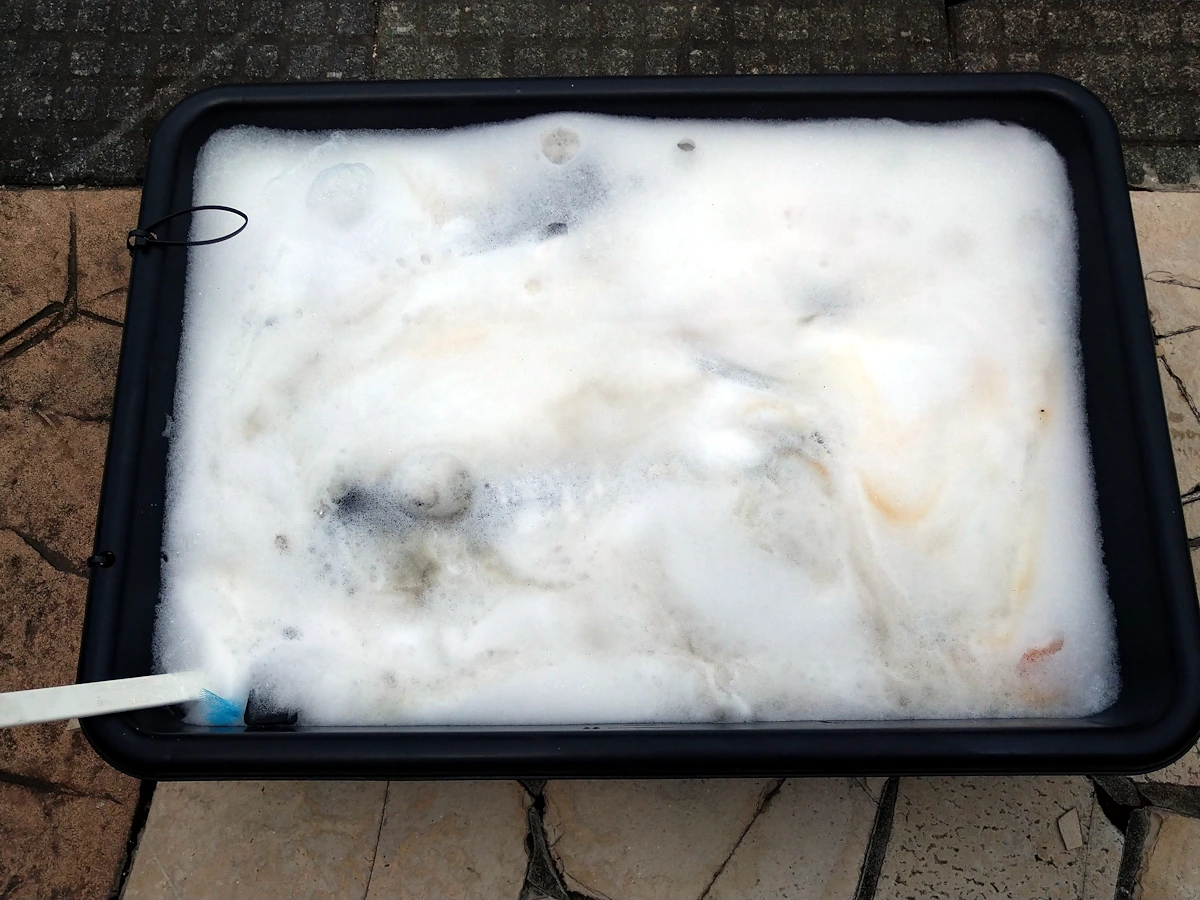
Oxyclean cleaning in progress
Coating
The radiator was dried after the peeling paint film was removed by high-pressure washing, and then coated with a gun coat, which is also used to enhance heat dissipation performance.
After baking in a simple oven, we were able to make it look like new.
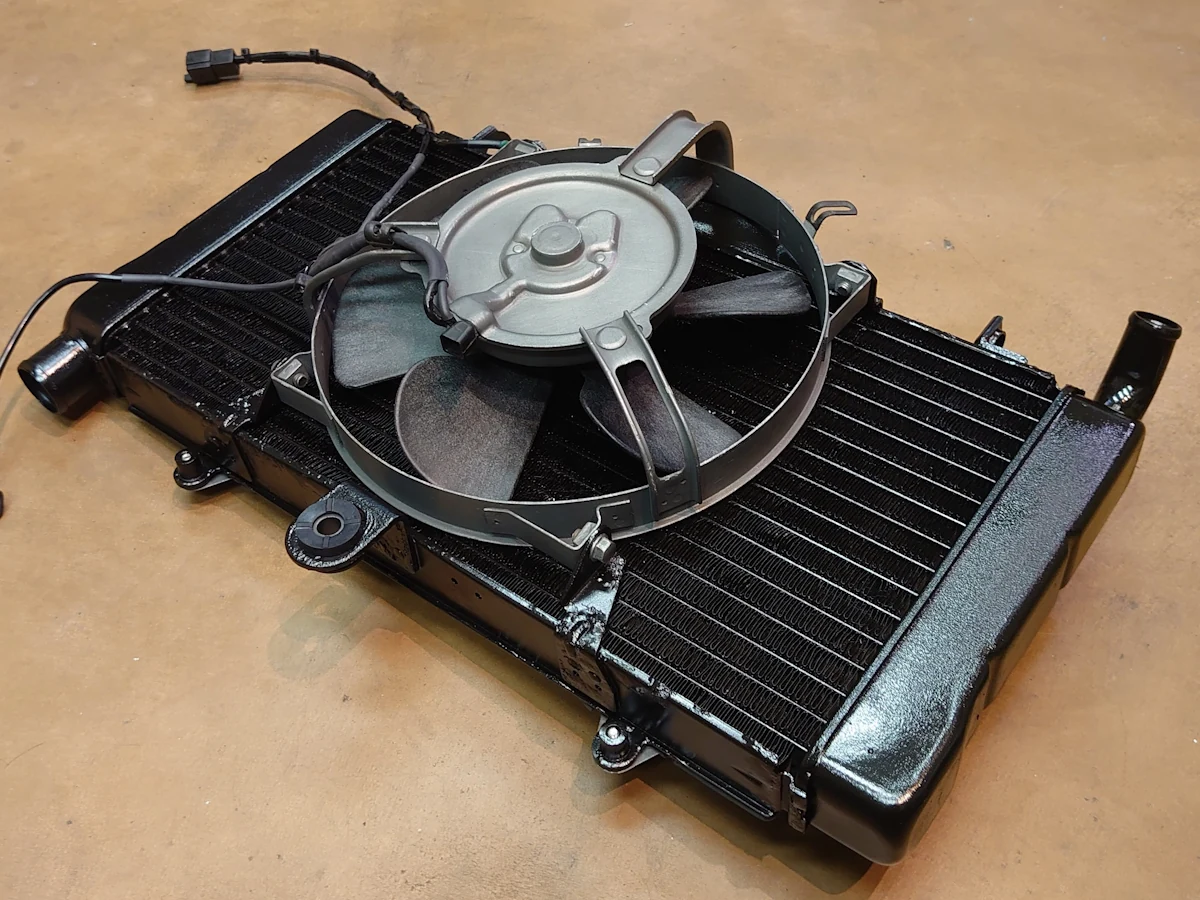
The radiator was painted and assembled completely.
The water pump also underwent gun-coat cold baking. Parts around the used radiator cap and parts for mounting the radiator fan are sprayed with zinc plating and then the surfaces are polished with a brass brush.
After using parts refresh
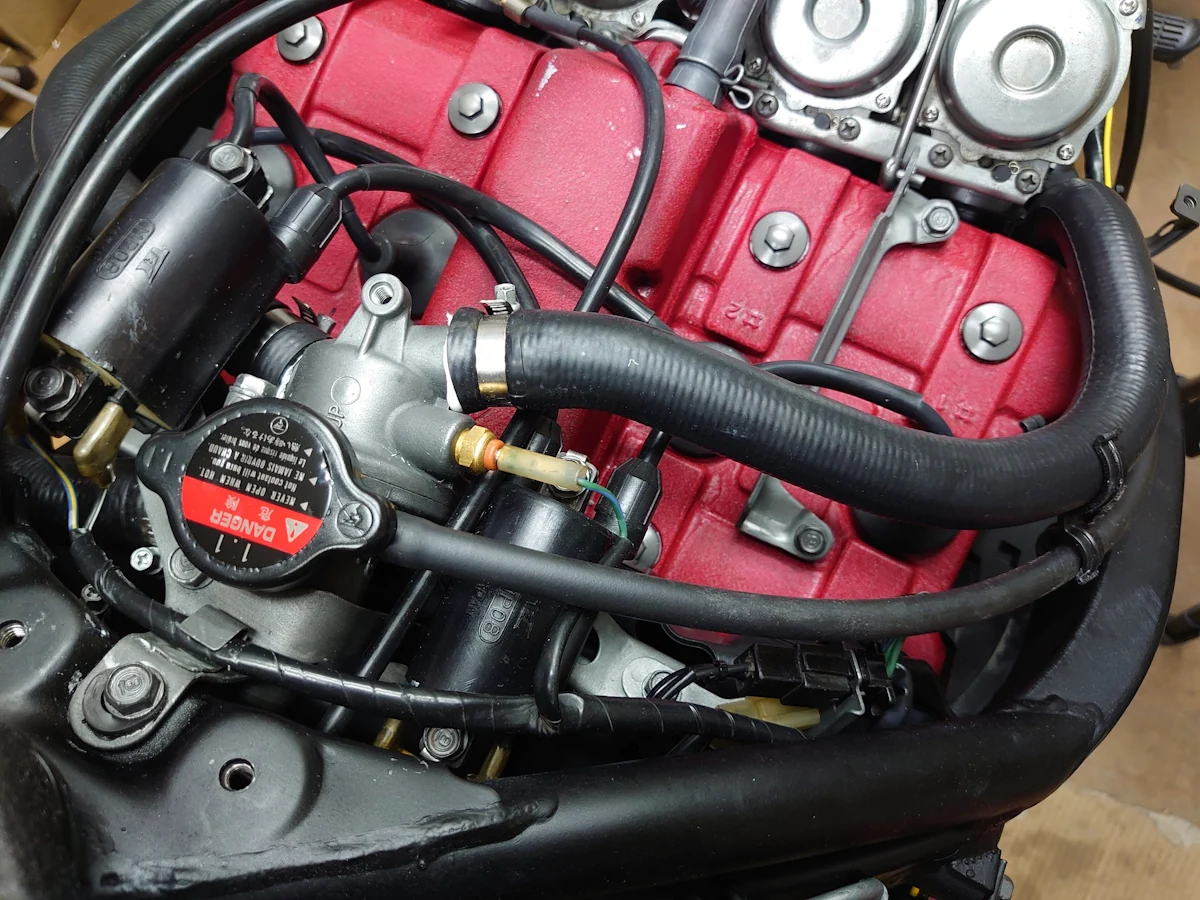
Assembling → Turbulence
Six months after cleaning and painting the parts. We thought we had restored the system by assembling the cleaned parts into the car body, connecting the pipes, and filling the car with cooling water, but we were surprised to find that the system was leaking.
In fact, this is where the water cooling system restoration really began.
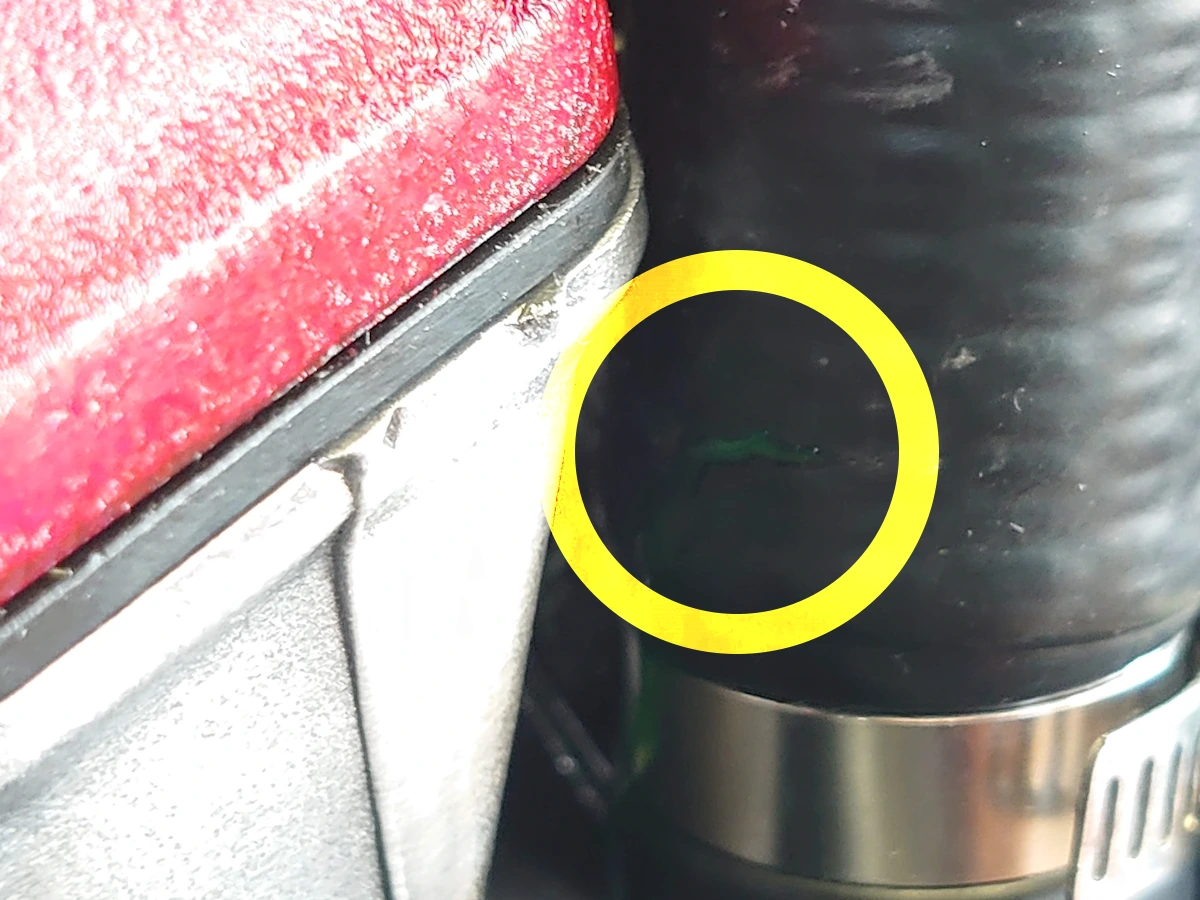
The first major leak was found at the joint of the rubber pipe. The first major leak we found was at the joints of the rubber pipes, especially where they connect to the water pump, which needed to be repaired because the bands were installed too tight and the rubber had crushed and lost its elasticity.
Coolant leak
Since new rubber pipes with complicated bends were not available, we decided to cut and join general-purpose angled rubber pipes and replace the rubber where it was crushed.
Rubber pipe joint repair
Coolant was also leaking from the joint of a thin rubber pipe, so we replaced it with a general-purpose rubber pipe of the same thickness. As a result of removing rust from the metal pipe side, the slightly thinner joint was made slightly thicker by wrapping it with waterproof tape used when repairing water pipes and then applying a coolant gasket to the joint.
Before joint installation
After various attempts, the leakage from the rubber pipe joint was stopped, but after one night, we discovered that the leak was still occurring. In order to locate the leak, we set up a camera at the location where the leak seemed to be and took pictures. We decided to identify the location.
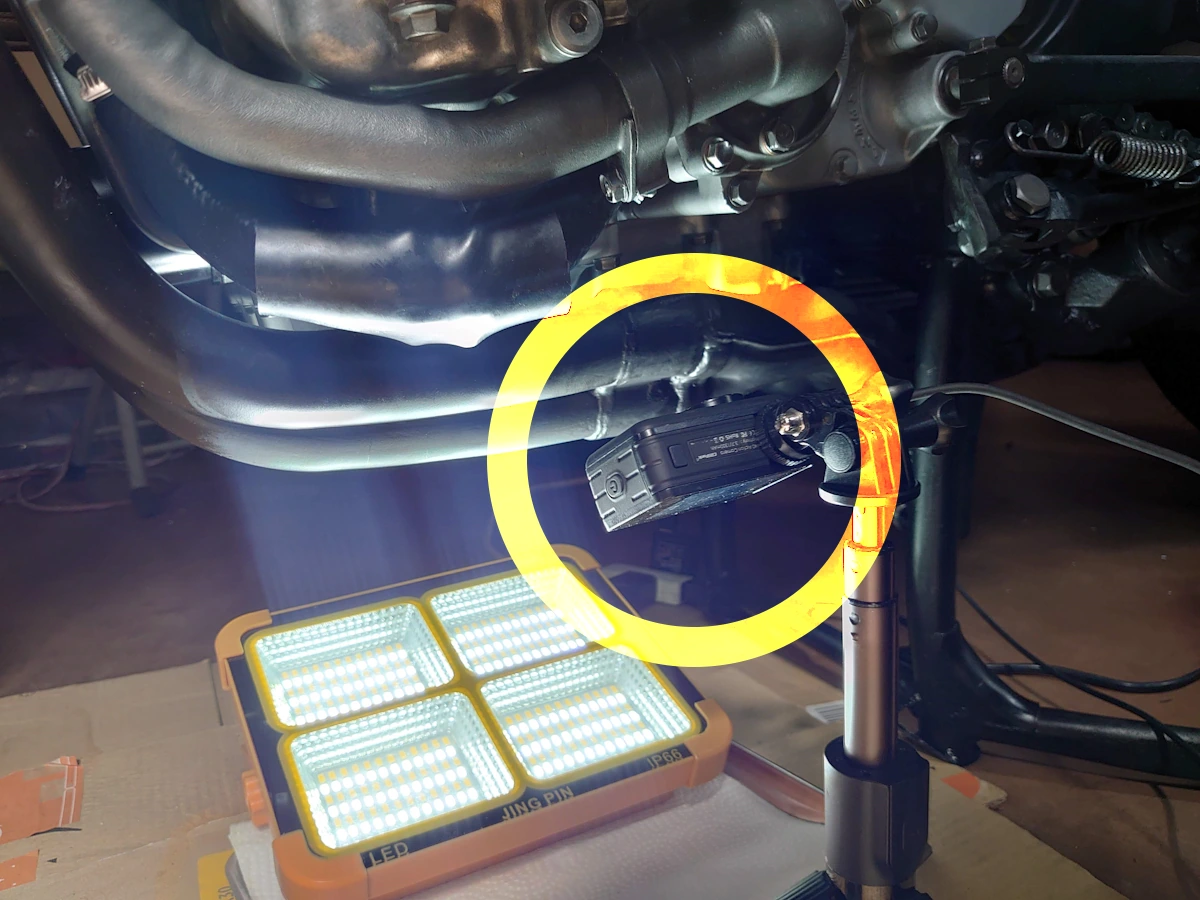
Time-lapse camera to check for leaks
Mechanical seal failure found.
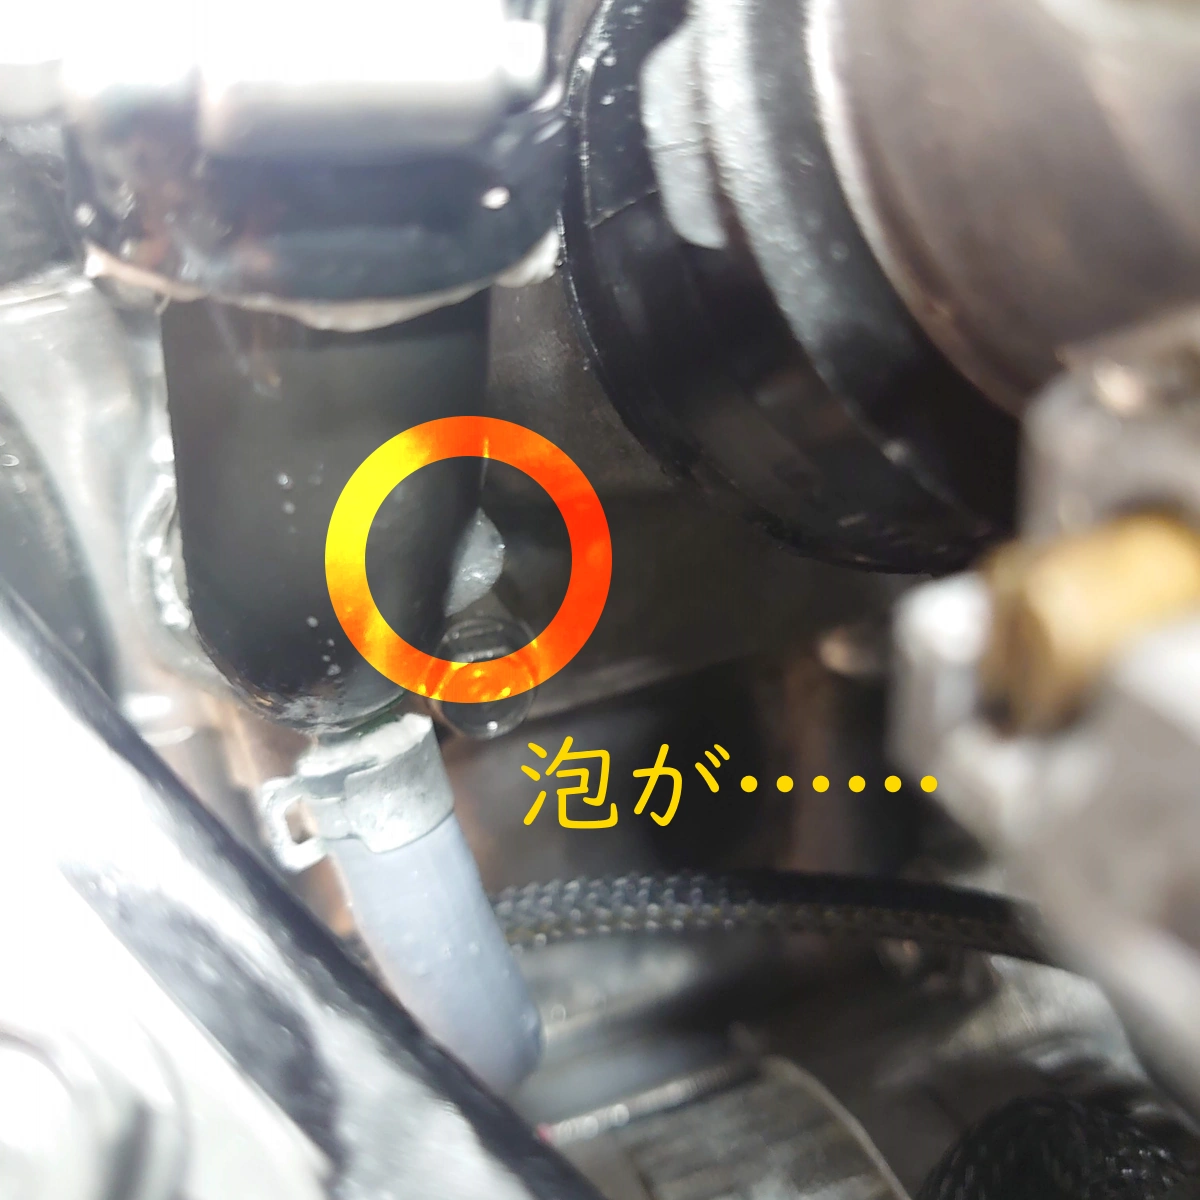
After a quick review of the images taken, it was discovered that water was leaking from the mechanical seal of the water pump, which we thought was fine.
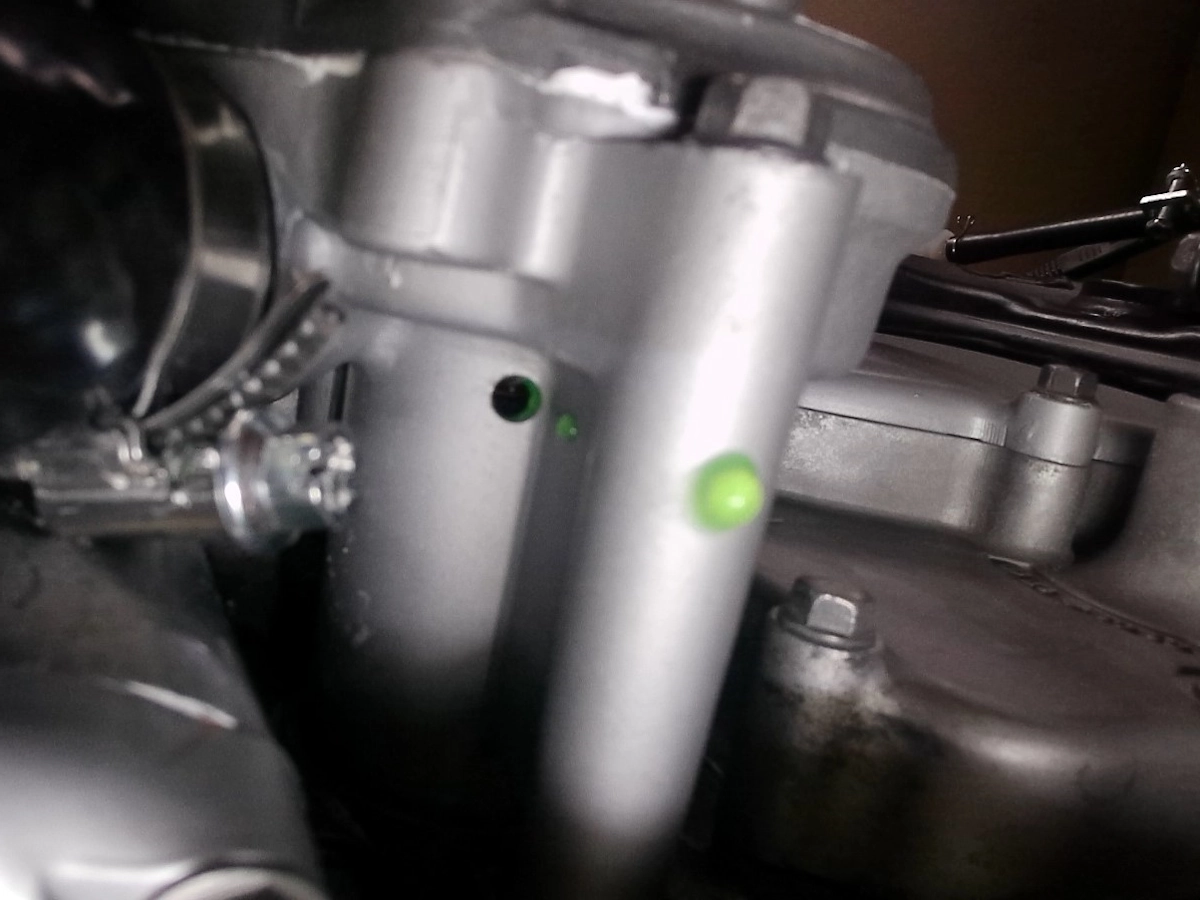
Water leakage from mechanical seal
The water pump in question was an assembly replacement part that was discontinued and I could not find any used parts in Japan. I searched overseas and found that the one for SC21 cost almost 50,000 yen including shipping. I found out that the same parts are used for SC24, so I searched again and managed to find a realistic price (?). I found that SC24 uses the same parts, so I searched again and managed to find one at a realistic price (?) and was able to obtain it. Thanks to you (?), I have learned a little bit about how to find out-of-print used parts. I think I have learned how to find out-of-print used parts. By the way, although it is not recommended to replace the mechanical seal alone, there is information on the Internet that it is possible, and since I was able to obtain the parts, I am thinking of rebuilding it someday as a spare part for the future.
I decided to use the parts that arrived a few weeks later (without painting) only to brush them after soda blasting.
Just to be safe, the bolts and other parts are new.
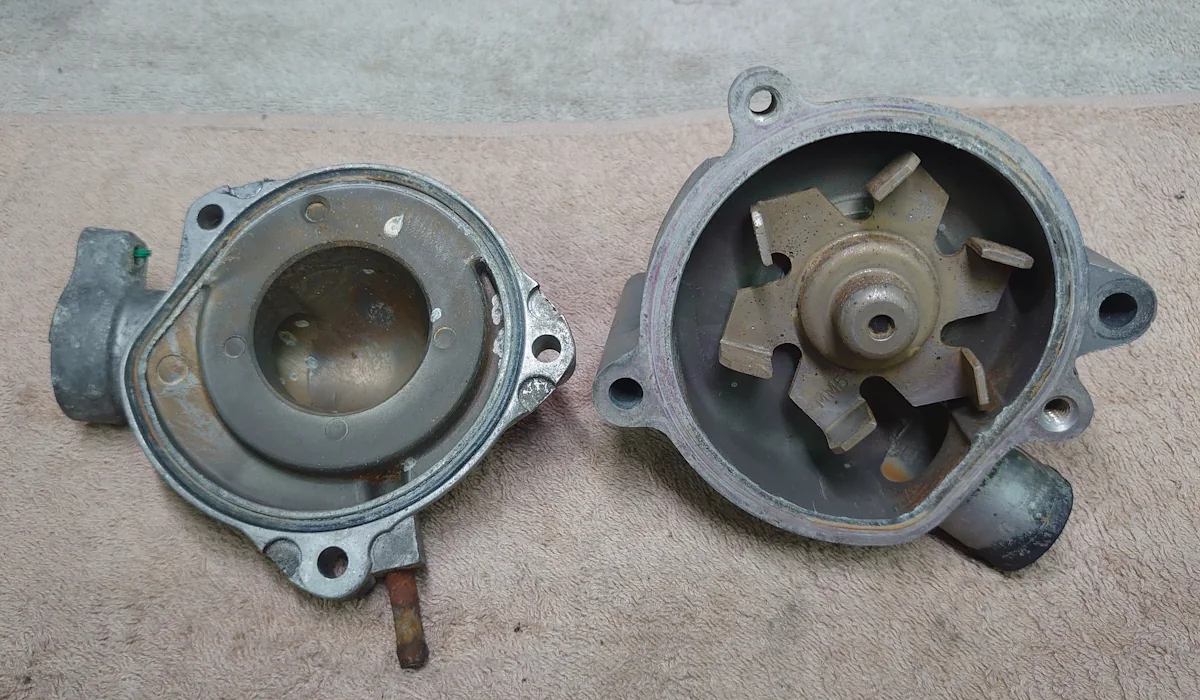
Used water pump
Leaks will continue, everywhere.
Thinking that the pump had been replaced and the leak would be gone, I checked the radiator with a tester that checks for leaks and the result was a fail.
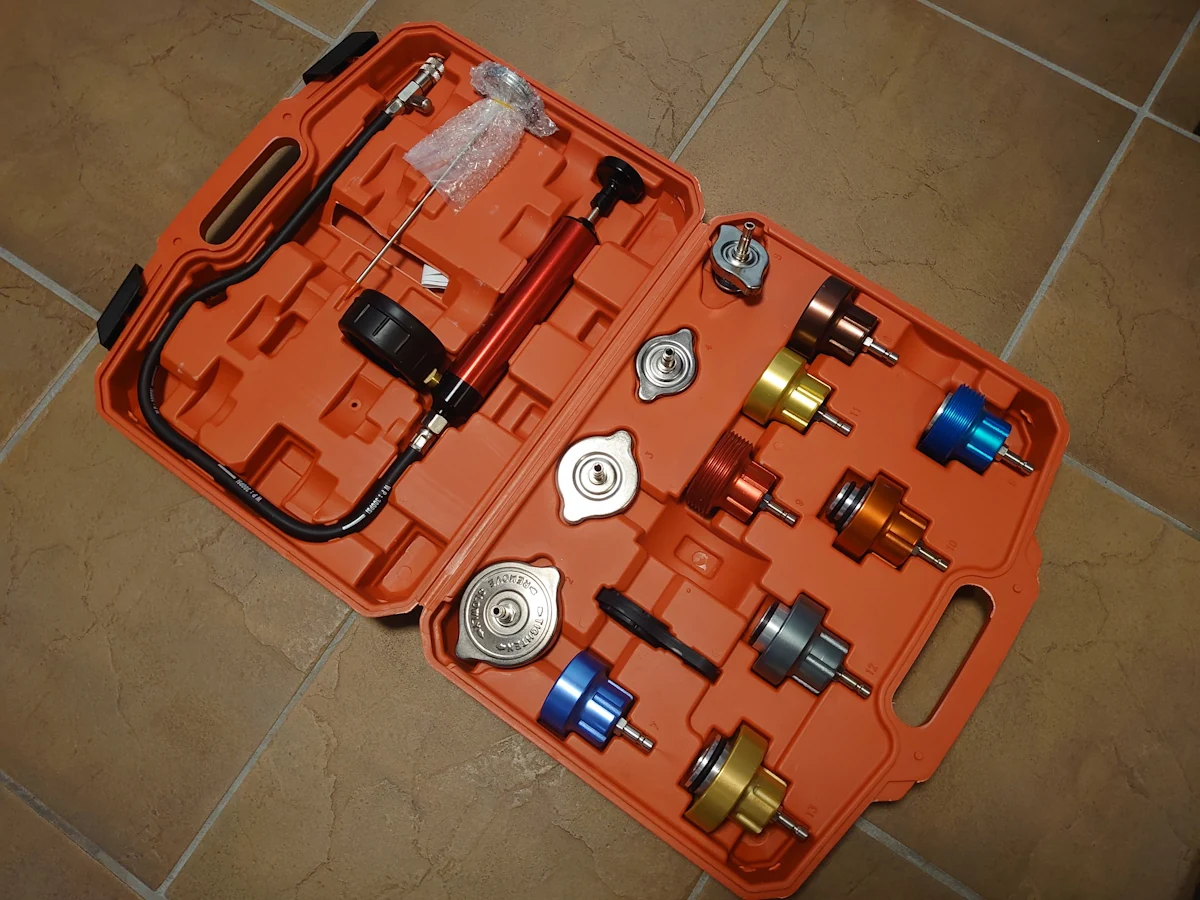
Radiator pressure leak tester
I applied kitchen paper to find where the leak was and found a tear in the thick rubber pipe.
Cracks in rubber pipe
Fortunately, the target rubber pipe came with a used radiator cap peripheral part, so we replaced it immediately. We then pressure-tested it, but it was still leaking.
After spraying soapy water to find the leak, we discovered a hole in a previously acquired used and refreshed metal pipe attached to the engine.
Found leakage from metal pipe.
There was no hole when it was installed, but when pressure was applied, the decayed and thinned part seemed to have punctured and made a hole…all was not well.
I removed the metal pipe and looked inside and saw that the whole thing is decayed and will likely puncture in another place when pressure is applied. However, all used parts are likely to be in the same condition, so I decided to repair and strengthen the existing metal pipe.
I thought about welding or brazing, but I decided to solidify the entire pipe with a strong epoxy adhesive, which is also used for sheet metal repairs because I was not sure of my skills and it would be better to reinforce the entire pipe.
(Although heat resistance is required, the temperature of the area is not higher than 200°C.)
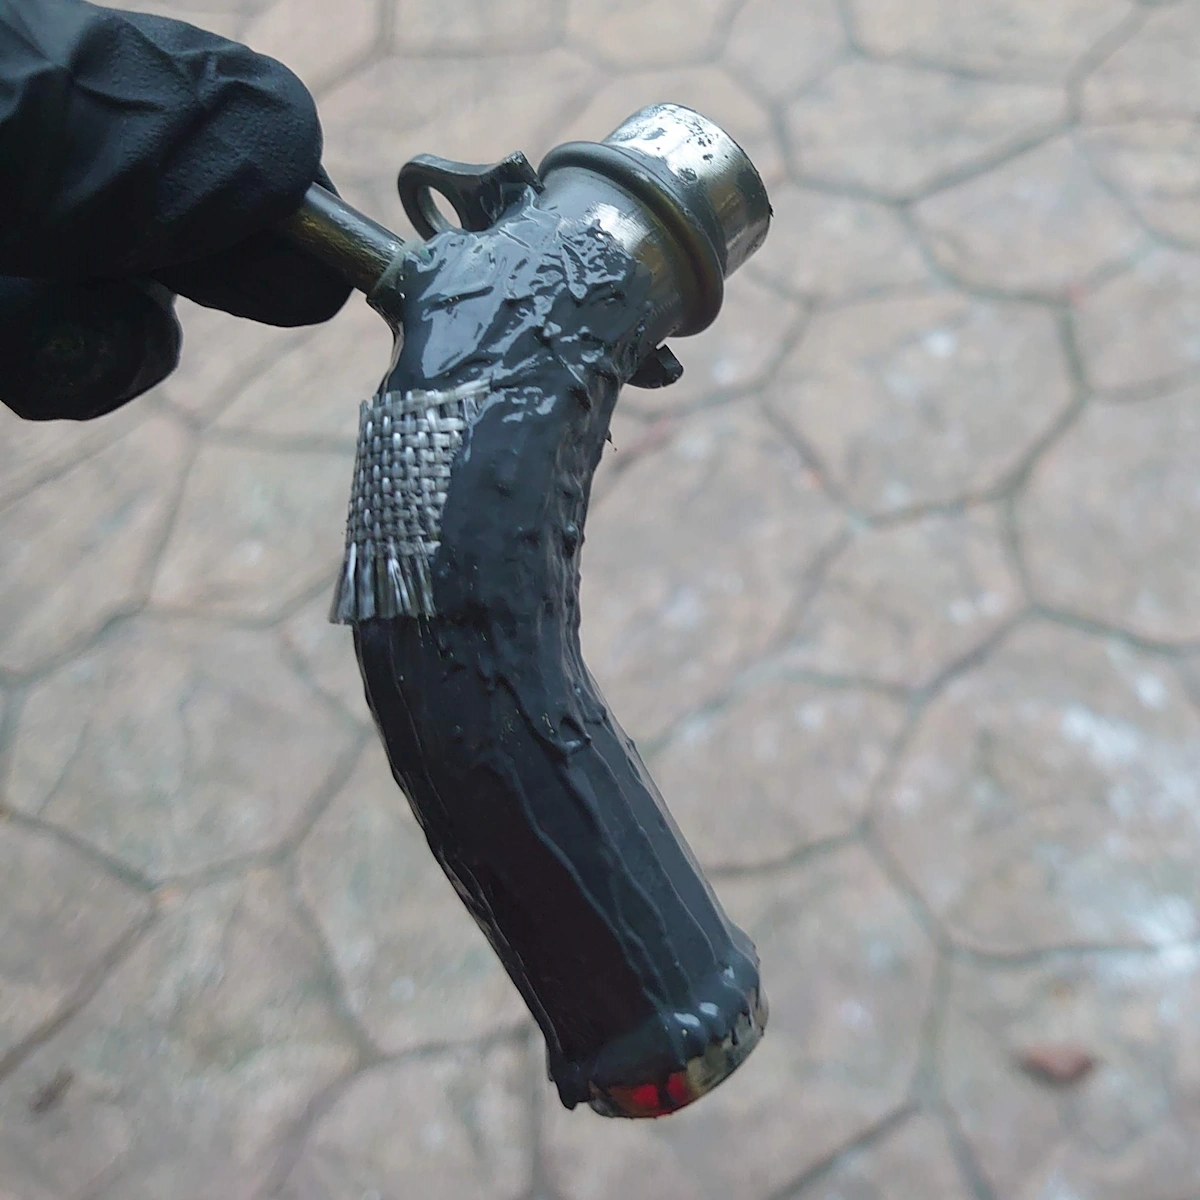
Metal pipe repair in progress
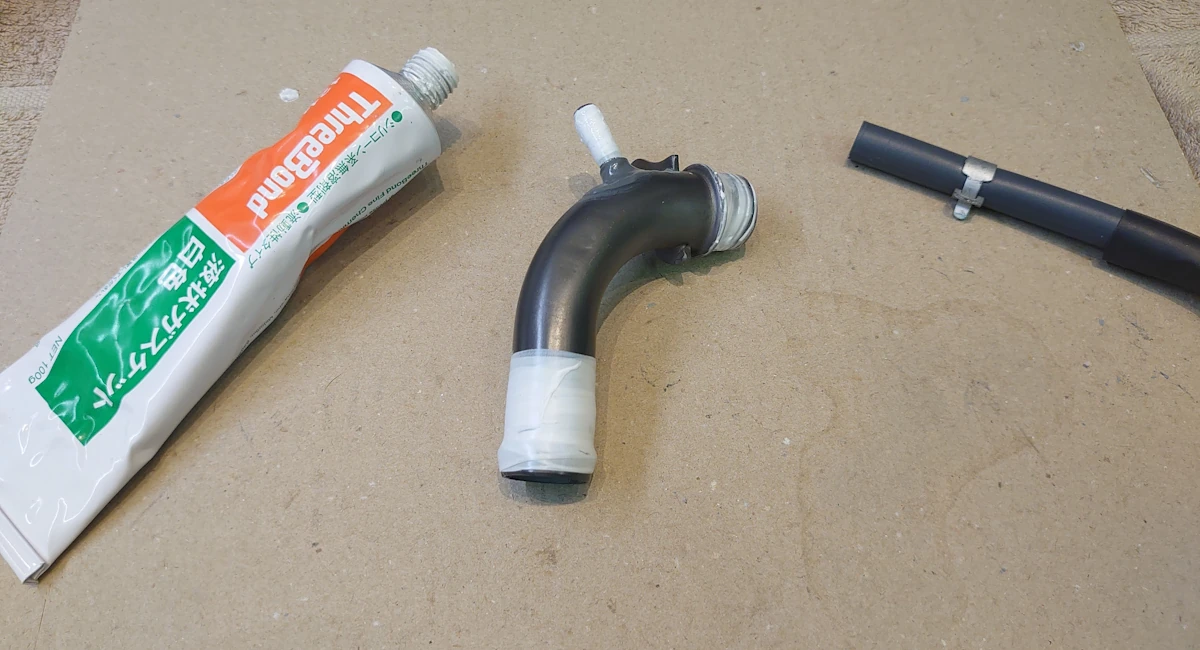
To relieve surface pressure, fiberglass was wrapped around the surface before the adhesive was applied to the entire surface. After curing, the surface was sanded for unevenness, wrapped with heat-resistant aluminum tape, and finally protected with heat compression tubing.
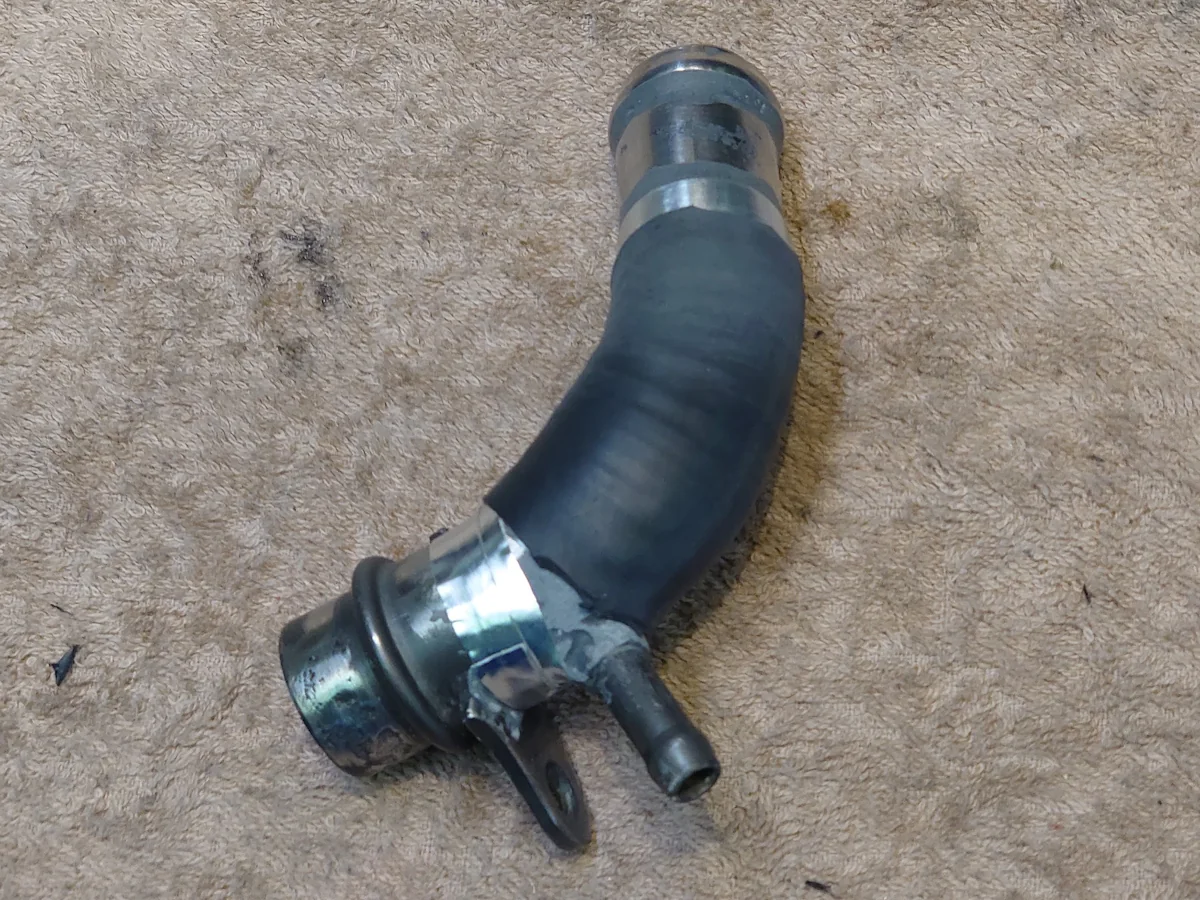
Metal pipe after repair
Rust inside metal pipes is prevented from reoccurring by dipping them once in rust remover and then spraying them with a rust conversion spray.
Completed for now.
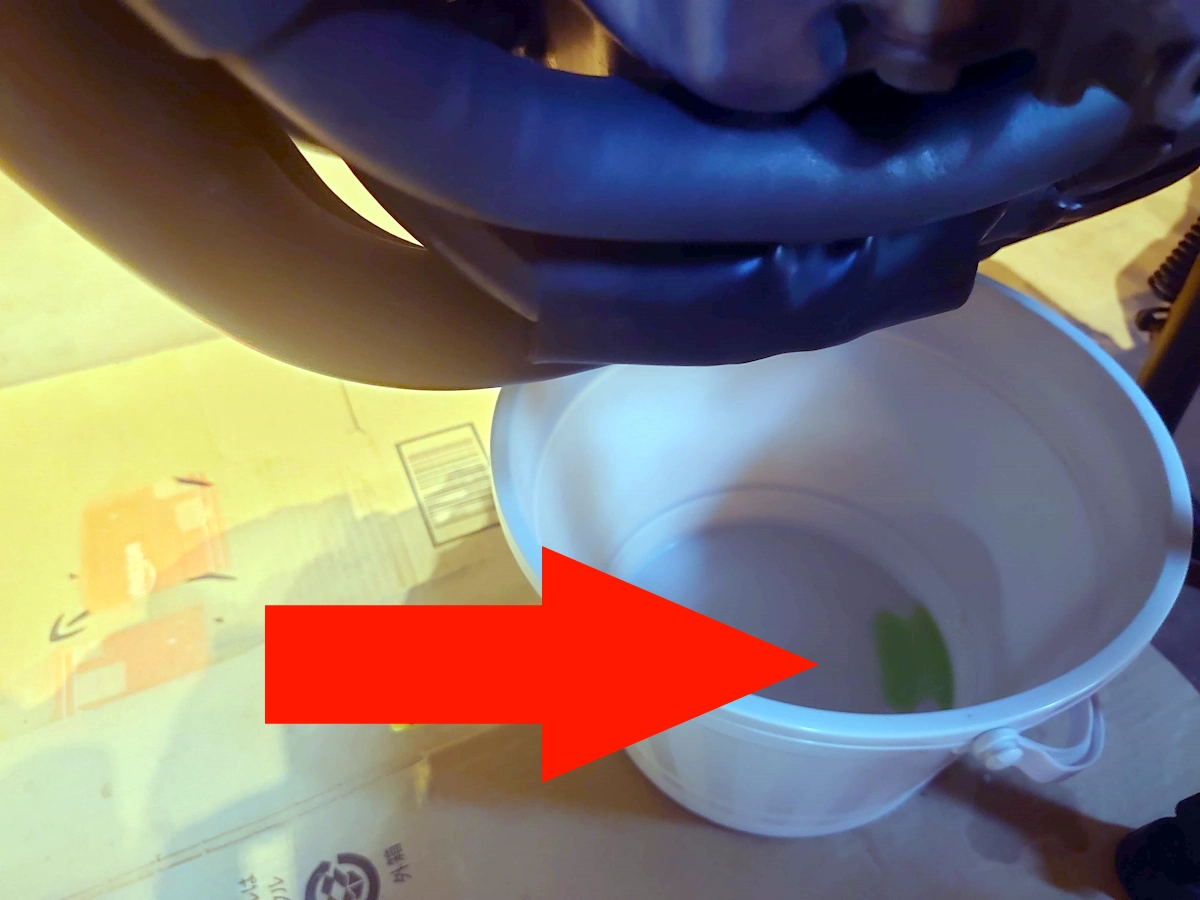
The reinforced metal pipe is installed, the rubber pipe is carefully connected, and coolant is put in after confirming that the gasket has been set.
(The coolant, which has been drained and turned on many times, is wasted, so it is filtered through a paint strainer and reused.)
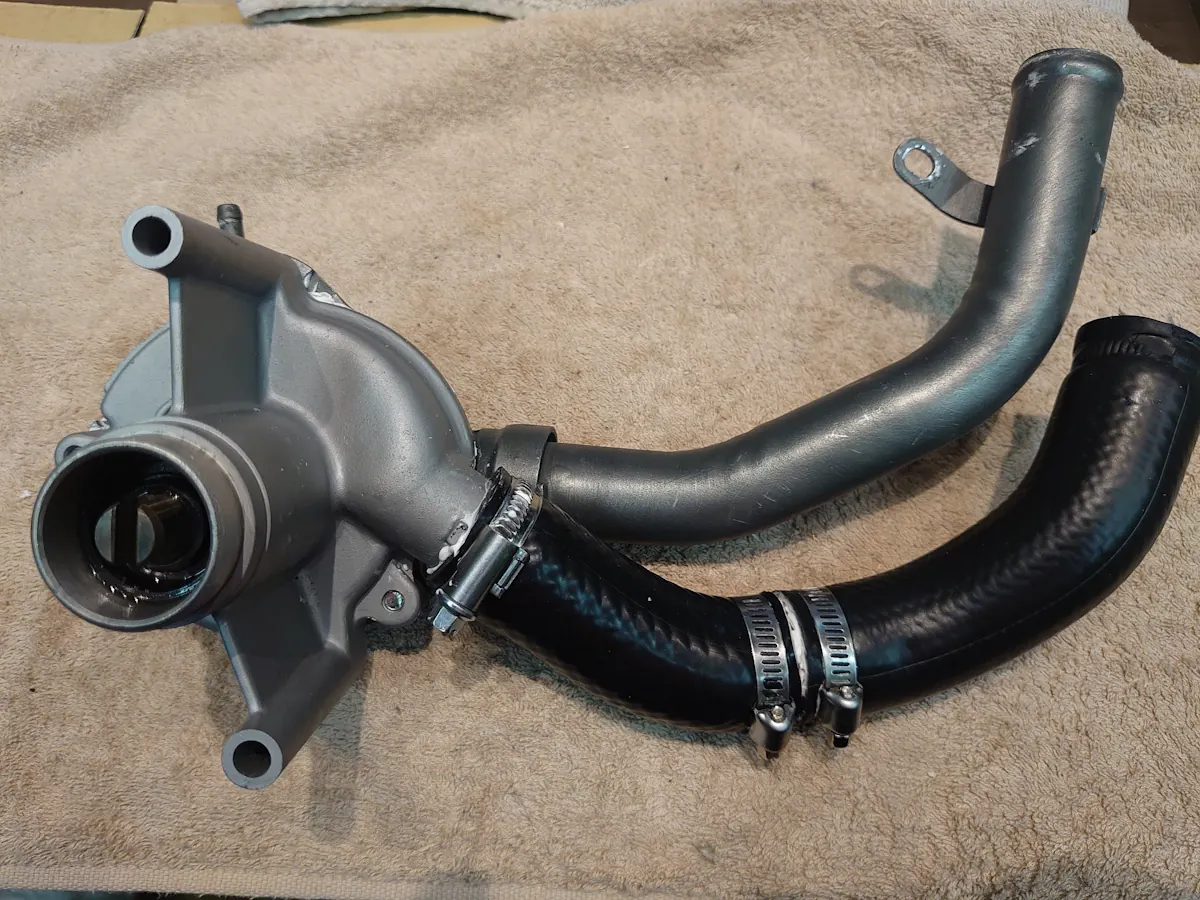
Finally, the leak is gone. The result of the pressure test showed that the pressure would drop in a few hours, and since there are places where the pressure is escaping, it is not completely safe.
Water cooling system after work
Summary
The weak point (?) of the SC21 We tried to regenerate the cooling system.
We tried to clean it all up by removing dirt, painting, etc. However, water leakage occurred in several places, so we implemented countermeasures. As a result, parts other than the radiator were replaced with used parts. The defective parts that could not be replaced were repaired and managed to stop leaking. We are still not sure if this repair was the right decision, so we would like to check the durability and other factors in the future.
Tools and equipment used
Soda blast set
Gun coat set
Simple oven
Toaster with temperature control
Metal clean
Oxi-clean
High-pressure cleaner **JP Website
Engine Leaks Tester
Strong epoxy adhesive **JP Website
Liquid gasket for coolant **JP Website
Waterproof tape
Heat-resistant aluminum tape
Heat Shrink Tubing **JP Website
Grinding wheel
Torque wrench
Heat gun
Galvanizing spray
Bucket
Clear case
Various wrenches and screwdrivers **JP Website
Paper towel
Replaced parts
CBR1000F (SC21) Cooling pipe installation pipe
CBR1000F (SC21) Radiator cap peripheral parts set (including rubber pipe)
CBR1000F (SC24) Water pump
General Purpose Water Pipes
Inner Pipe for Water Pipe Connection
Hose band
Water pump mounting bolt
Coolant liquid